Introduction
Use this guide to replace a bent or damaged rear case, or to swap out the rear case for cosmetic reasons. The rear case serves as the chassis for the entire phone, so replacing it involves removing all the iPhone's components.
You can also use this guide to replace the following parts:
- IFC Bracket
- Loudspeaker Mount
- Microphone Mount
- Front Panel Clips
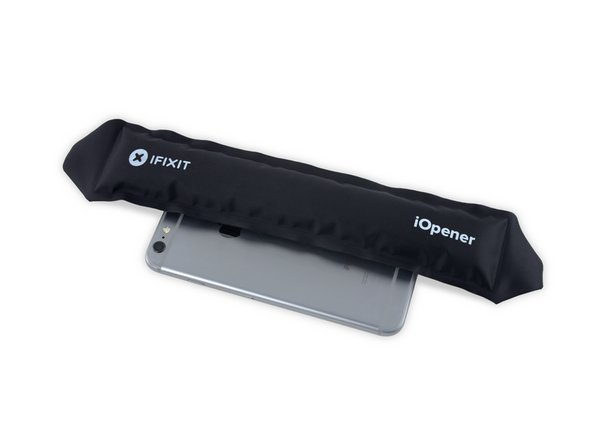
What you need
-
-
Power off your iPhone before beginning disassembly.
-
Remove the two 3.4 mm Pentalobe screws on either side of the Lightning port.
-
-
-
Pull the blue handle backwards to unlock the Anti-Clamp's arms.
-
Slide the arms over either the left or right edge of your iPhone.
-
Position the suction cups near the bottom edge of the iPhone just above the home button—one on the front, and one on the back.
-
Squeeze the cups together to apply suction to the desired area.
-
-
-
If you don't have an Anti-Clamp, follow the next three steps to use a suction handle.
-
Apply mild heat to the lower edge of the iPhone using an iOpener or hair dryer for about a minute.
-
-
-
Gently grasp the display assembly and lift it up to open the phone, using the clips at the top of the front panel as a hinge.
-
Open the display to about a 90º angle, and lean it against something to keep it propped up while you're working on the phone.
-
Add a rubber band to keep the display securely in place while you work. This prevents undue strain on the display cables.
-
-
-
Remove two Phillips screws securing the battery connector bracket to the logic board, of the following lengths:
-
One 2.9 mm screw
-
One 2.3 mm screw
-
-
-
Remove the following Phillips screws:
-
Three 1.3 mm screws
-
One 1.6 mm screw
-
One 3.0 mm screw
-
-
-
Insert a SIM eject tool into the hole in the SIM tray.
-
Press to eject the SIM tray.
-
-
-
-
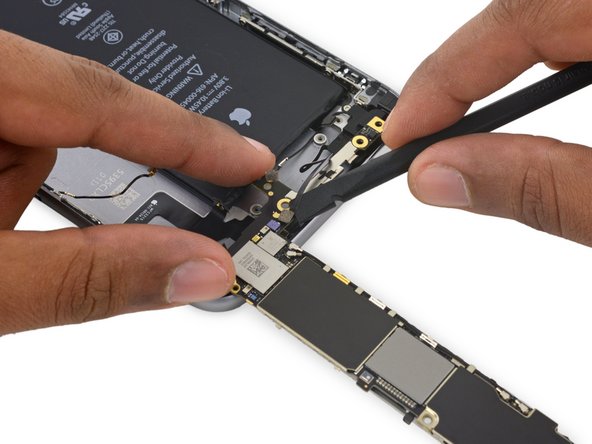
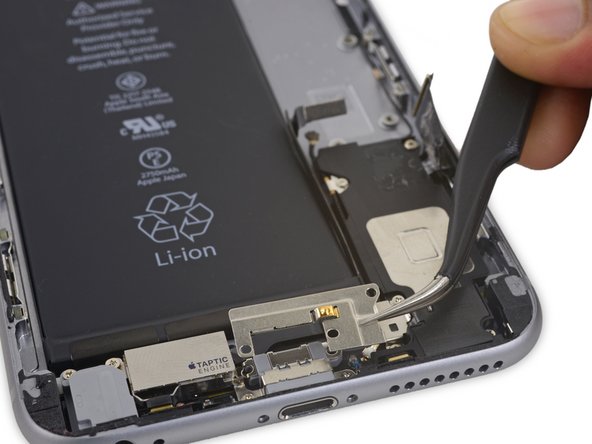
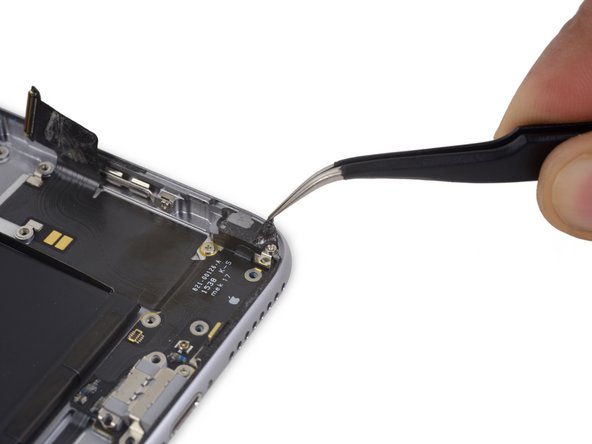
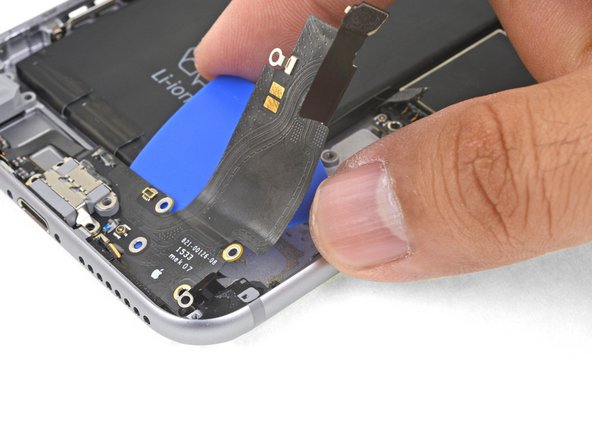
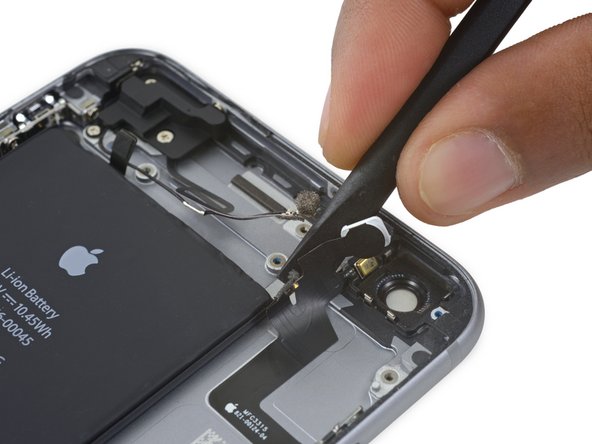
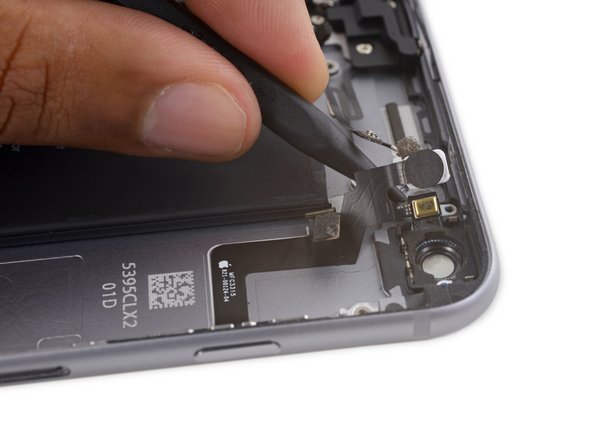
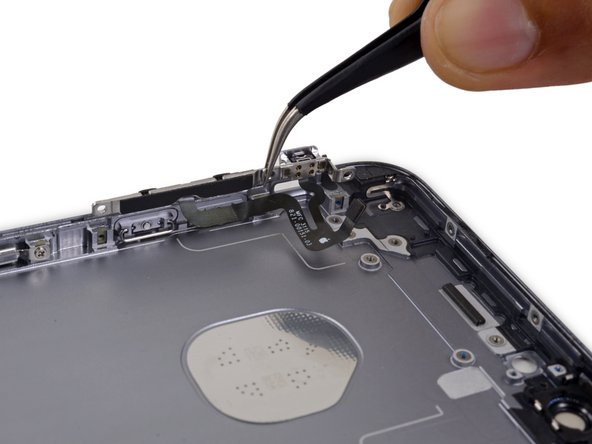
Use the flat end of a spudger to peel the Lightning connector flex cable off the speaker.
-
-
-
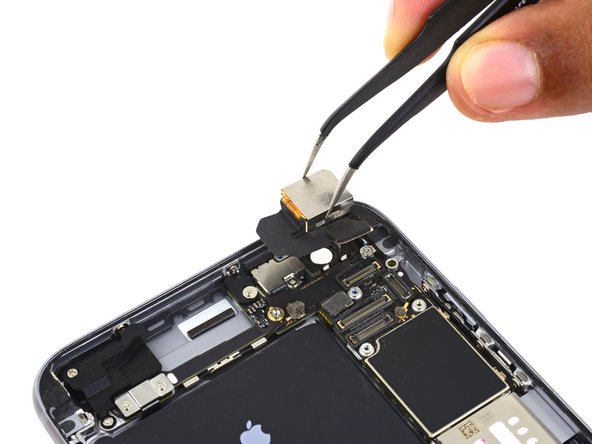
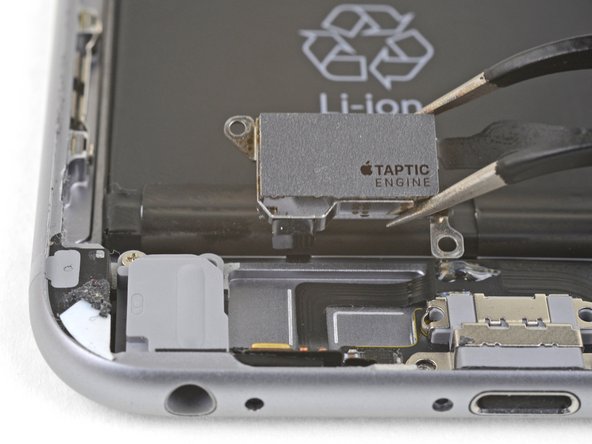
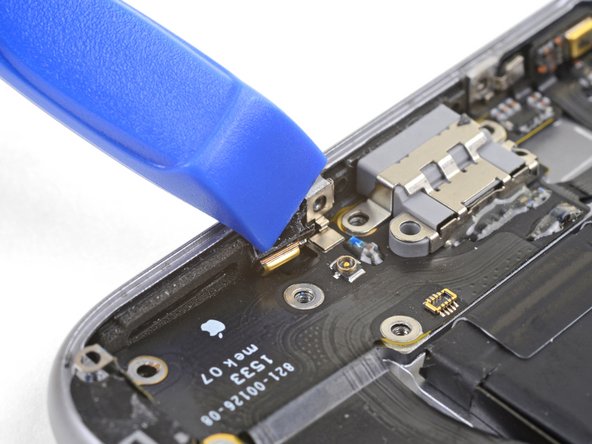
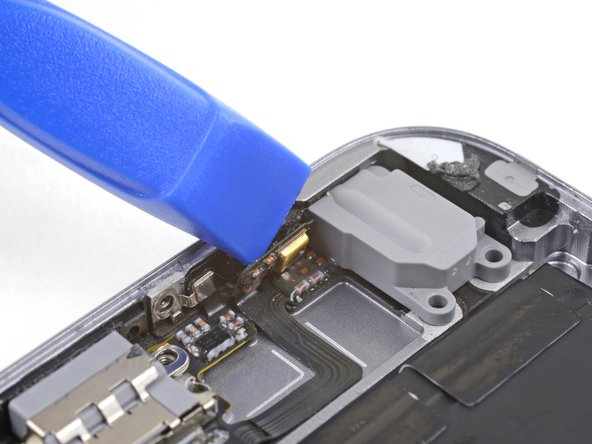
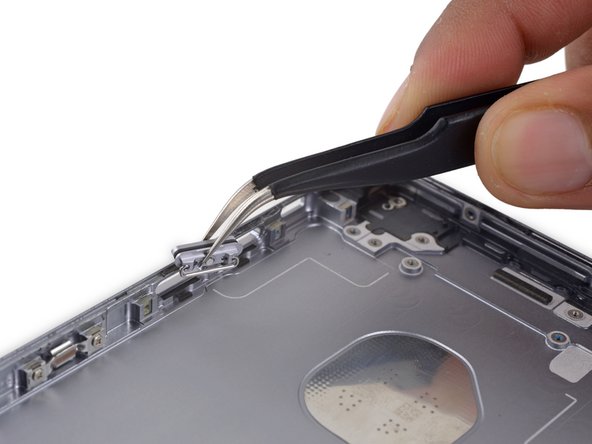
Use the point of a spudger to disconnect the Taptic Engine flex cable from the lower flex cable.
-
-
-
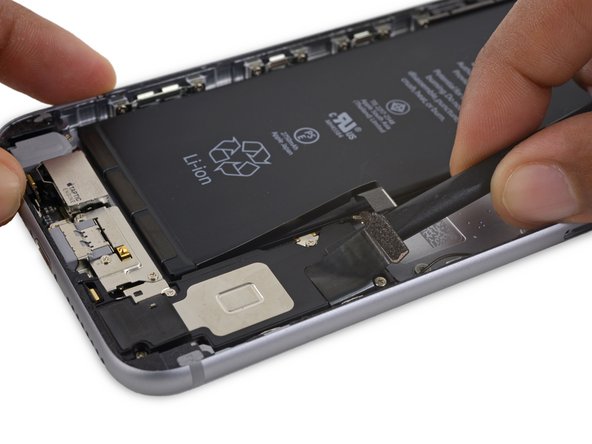
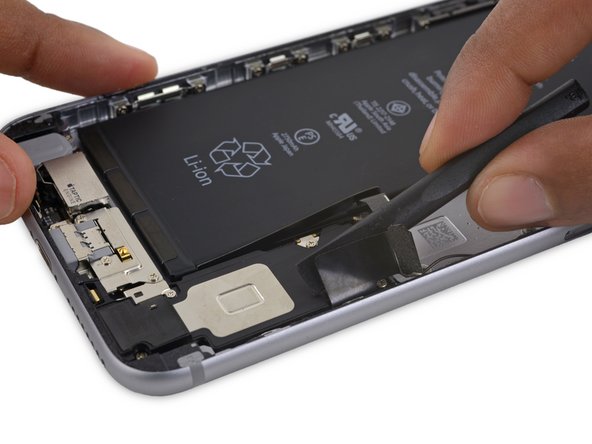
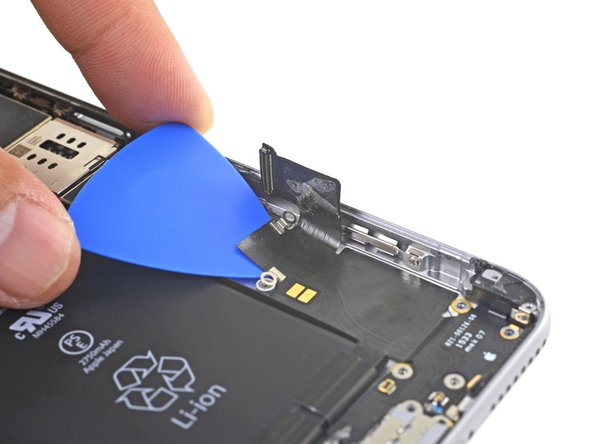
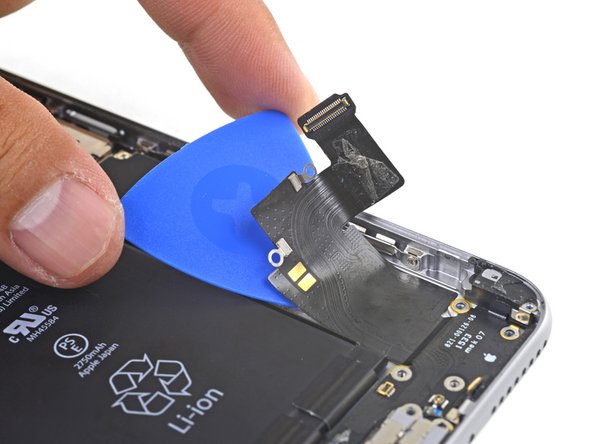
Prepare an iOpener and lay it across the bottom of the phone to soften the adhesive holding the Lightning connector flex cable in place.
-
Wait about a minute for the adhesive to soften before removing the iOpener and continuing.
-
-
-
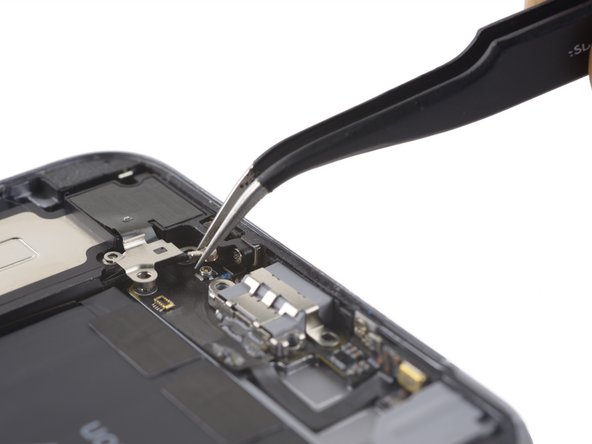
Remove the following four Phillips screws:
-
Three 2.0 mm screws holding the power button bracket in place
-
One 1.3 mm Phillips screw over the flash and microphone bracket
-
-
-
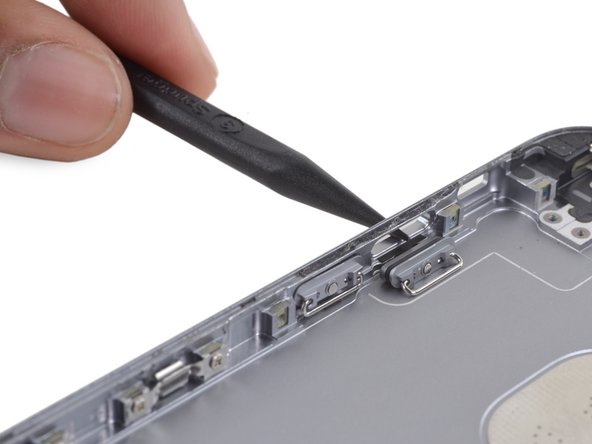
Gently nudge the power button cover out of its slot in the rear case.
-
-
-
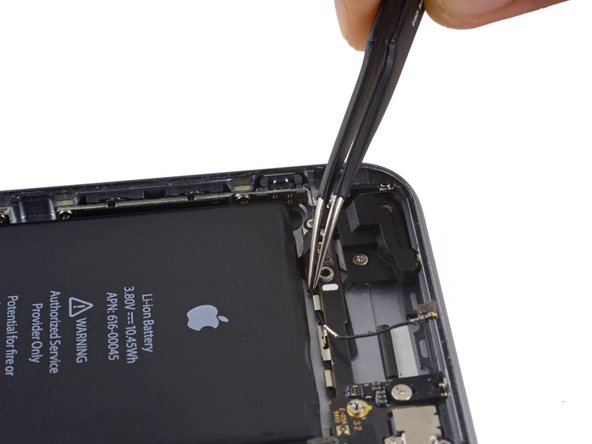
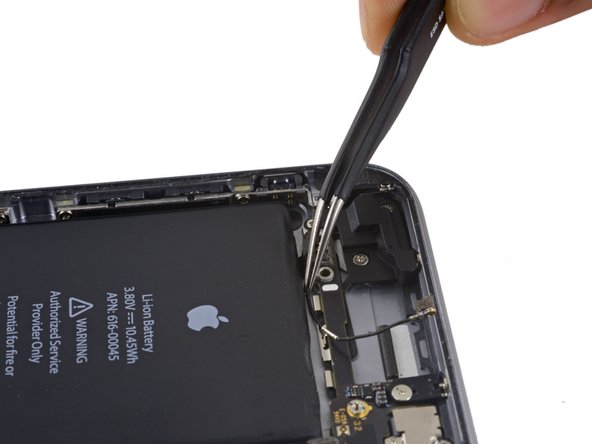
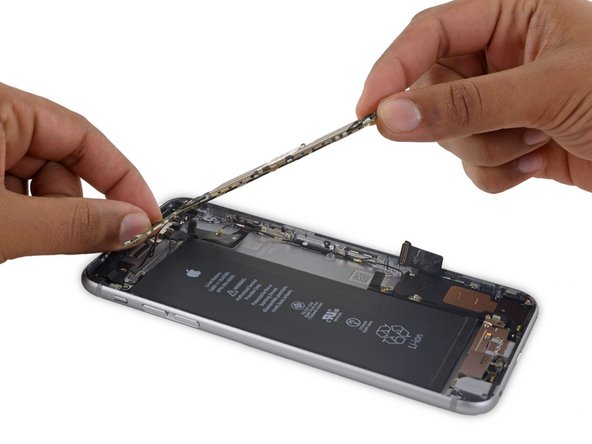
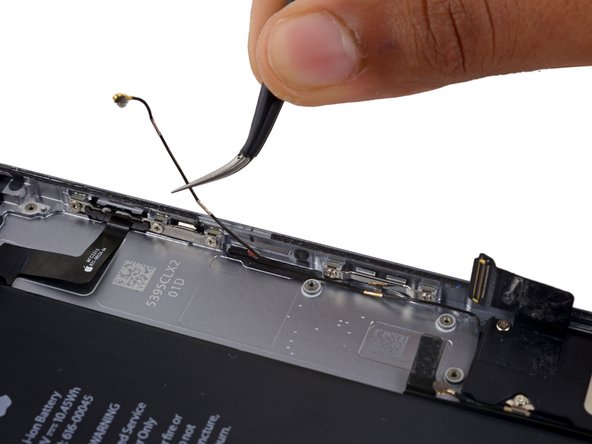
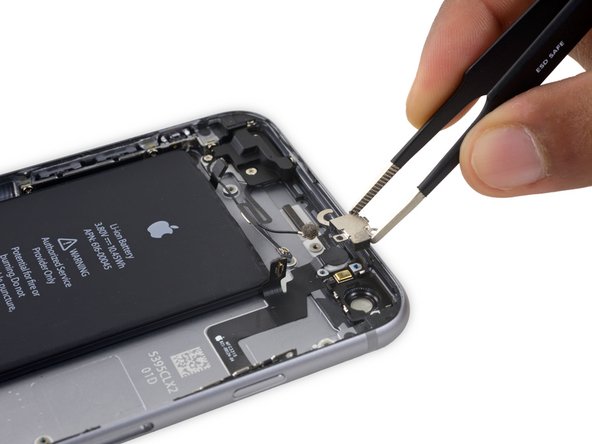
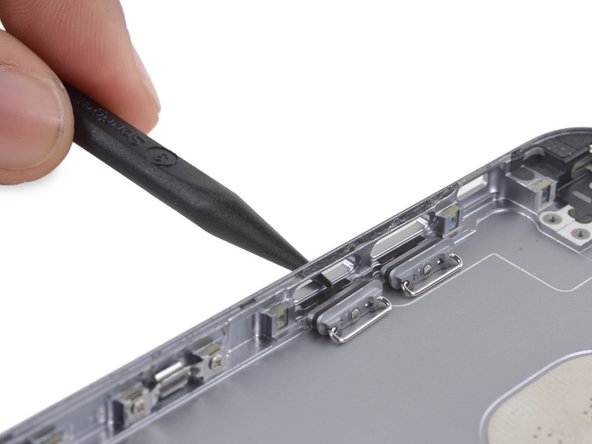
Remove the following screws holding the cellular antenna in place:
-
One 2.7 mm Phillips screw
-
One 1.7 mm Phillips screw
-
One 1.3 mm Phillips screw
-
-
-
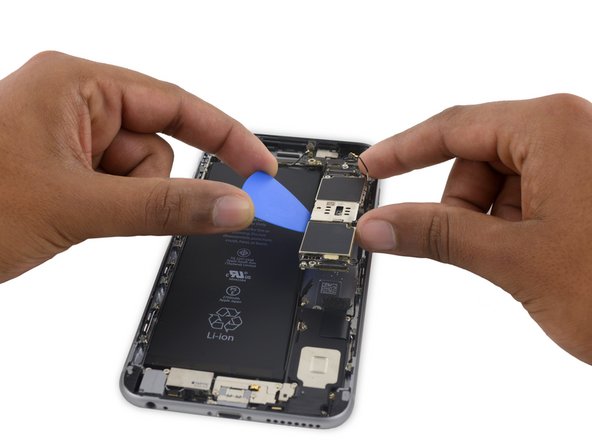
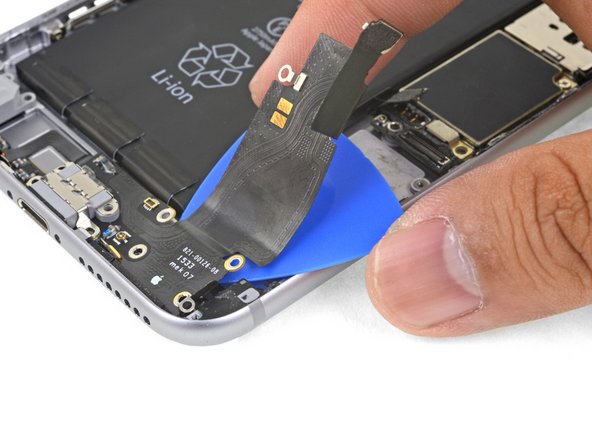
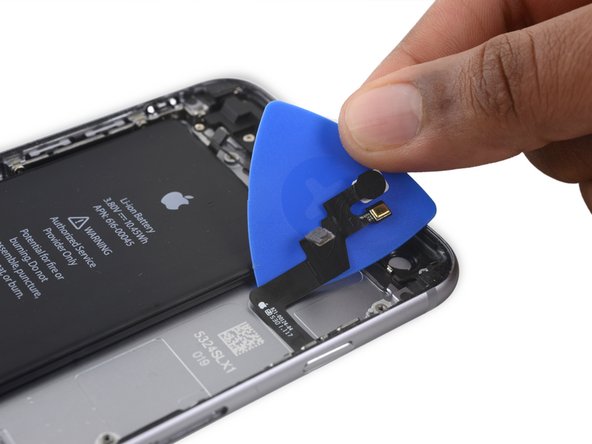
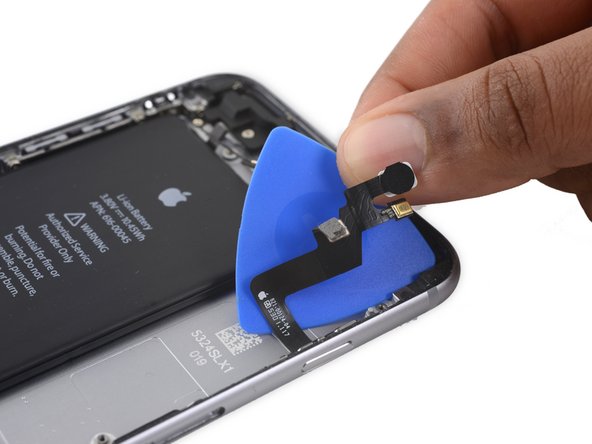
Prepare an iOpener and apply it to the back of the rear case, directly over the battery. Alternatively, you can apply heat using a heat gun or hair dryer.
-
After about a minute, flip the phone over and use a plastic card to tear through any remaining adhesive.
-


To reassemble your device, follow these instructions in reverse order.
To reassemble your device, follow these instructions in reverse order.
Cancel: I did not complete this guide.
38 other people completed this guide.

6 Comments
Absolutely brilliant clear instructions
i like a challenge !
whomever wrote this instruction is a star
many thx
chris
Wow Evan! This is Ashwin from bellarmine. This was done really well and it came in handy, thanks for the contribution!
perfect step by step guide.
Took me 3 hours to swap the cover.
only think that missed is the application of the adhesive for the battery and the screen.
thanks mate!!